Photography Tips for Capturing Stunning Nature Shots on the Trail
Description: Improve your nature photography skills with these essential tips for capturing breathtaking landscapes and wildlife while hiking.
Embrace the Journey, Capture the Moment
Hiking and photography – a match made in outdoor adventure heaven! Carrying a camera alongside your hiking gear opens up a whole new dimension to the trail experience. It encourages you to slow down, observe, and truly appreciate the beauty around you. But simply pointing and shooting won’t cut it. Here’s how to elevate your nature photography while enjoying the trail.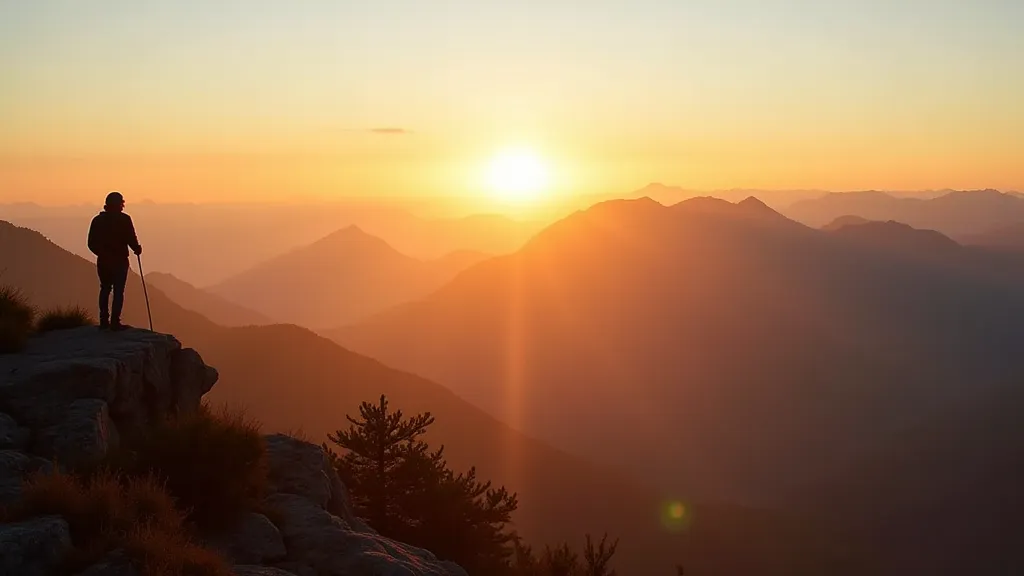
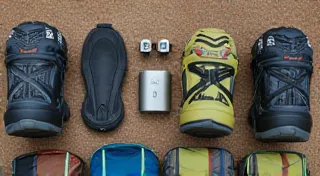
1. Gear Up – But Keep it Light
While professional equipment can be amazing, you don't need a massive, expensive kit to capture stunning images. A good quality smartphone camera can actually be surprisingly capable. If you're using a DSLR or mirrorless camera, prioritize portability.- Lens Choice: A versatile zoom lens (around 24-70mm equivalent) is a good starting point. A wide-angle lens is fantastic for landscapes, and a telephoto lens can bring distant wildlife closer.
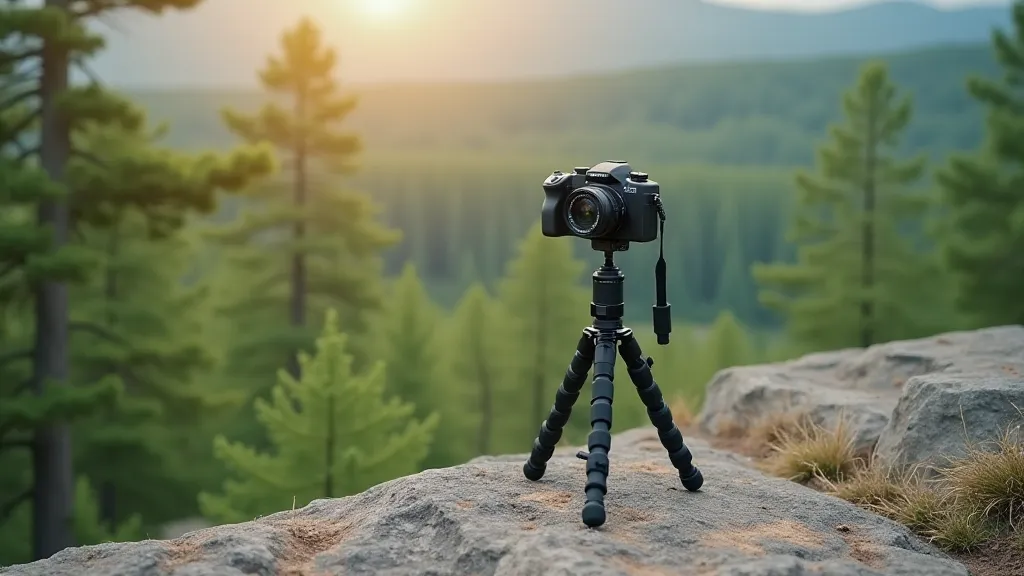
- Tripod: Crucial for sharp images, especially in low light or when using longer exposures. A lightweight, compact tripod is ideal for hiking.
- Extra Batteries & Memory Cards: Don't get caught short!
2. The Golden Hour is Your Best Friend
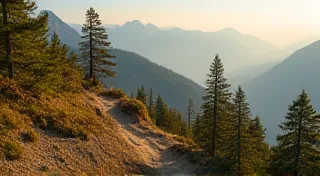
The "golden hour" – the hour after sunrise and the hour before sunset – provides the most flattering light for nature photography. The lower angle of the sun creates longer shadows, warmer tones, and a softer, more dramatic feel. Plan your hikes to take advantage of these magical hours.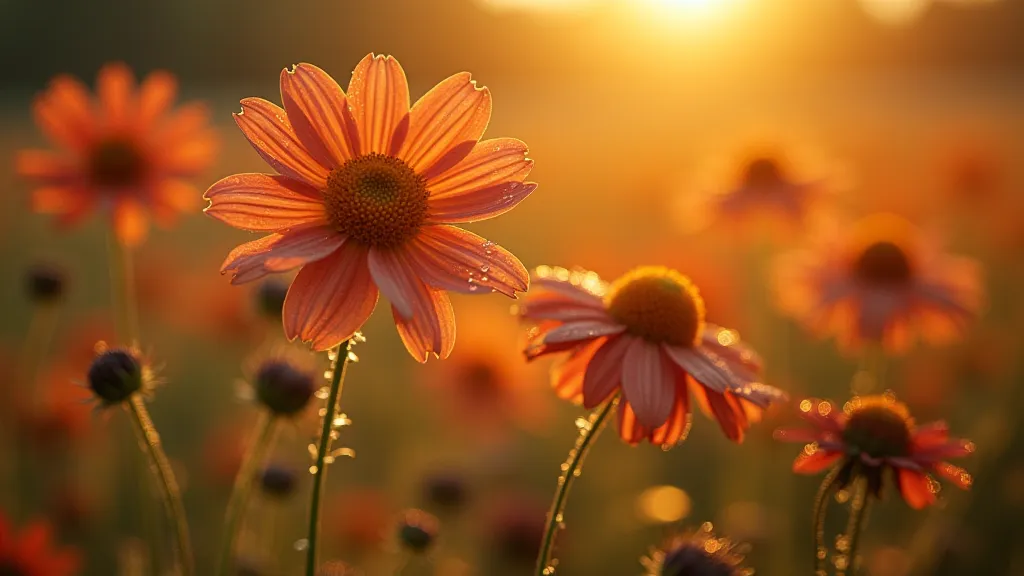
3. Composition is Key
Good composition can transform an ordinary scene into a captivating image.- Rule of Thirds: Imagine dividing your frame into nine equal parts. Place key elements along these lines or at their intersections.
- Leading Lines: Use natural lines (rivers, trails, rock formations) to draw the viewer’s eye into the scene.
- Framing: Use natural elements (trees, arches, rock formations) to frame your subject.
- Foreground Interest: Add something interesting in the foreground to add depth and scale.
4. Patience and Observation
Wildlife photography, in particular, requires patience. Spend time observing animal behavior. Be prepared to wait for the right moment. Respect wildlife – maintain a safe distance and avoid disturbing their habitat.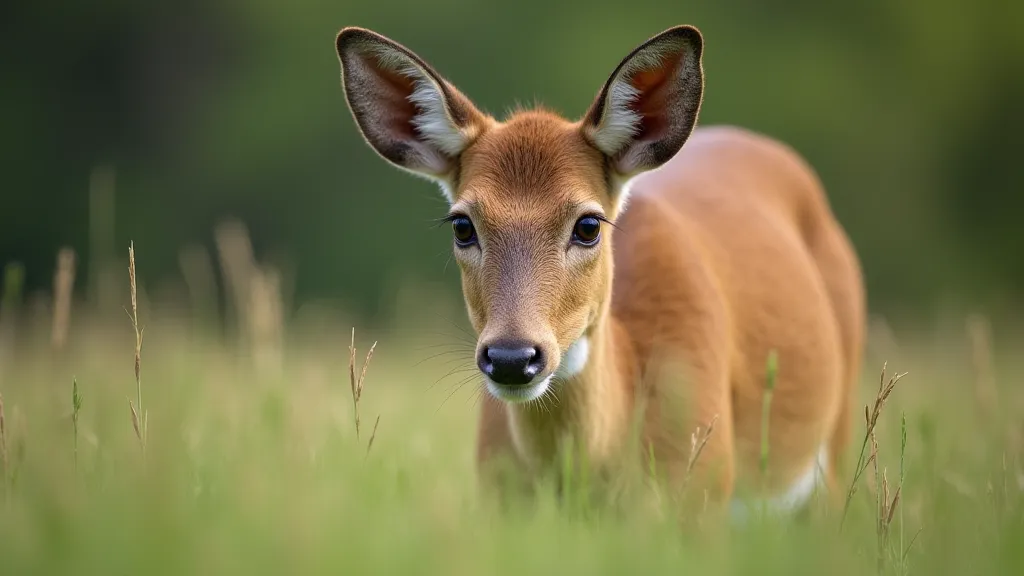
5. Mastering Settings – Aperture, Shutter Speed & ISO
Understanding the basics of your camera's settings is essential.- Aperture: Controls the depth of field (how much of the scene is in focus). A wider aperture (smaller f-number, like f/2.8) creates a shallow depth of field, blurring the background and isolating your subject. A smaller aperture (larger f-number, like f/16) keeps everything in focus.
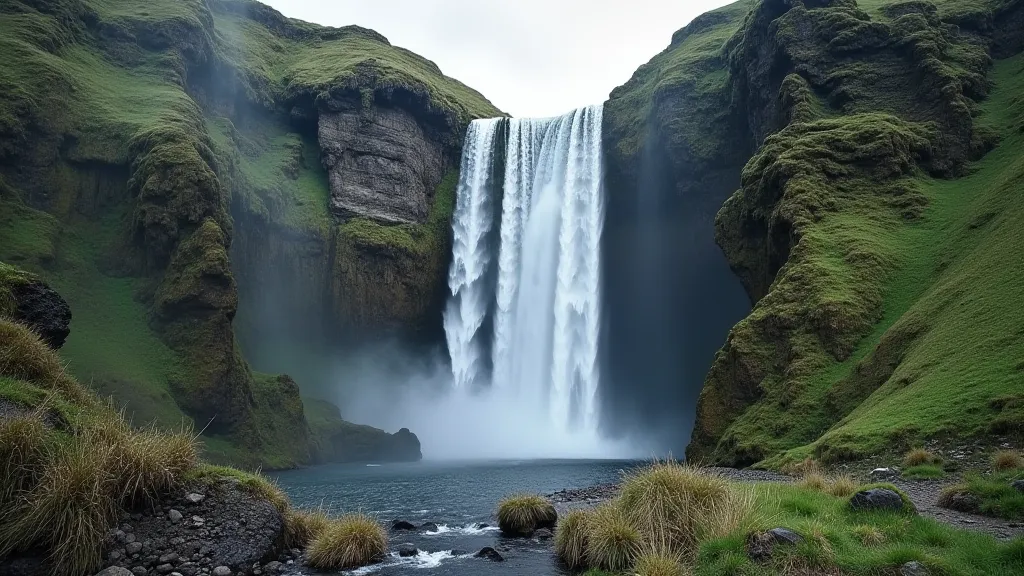
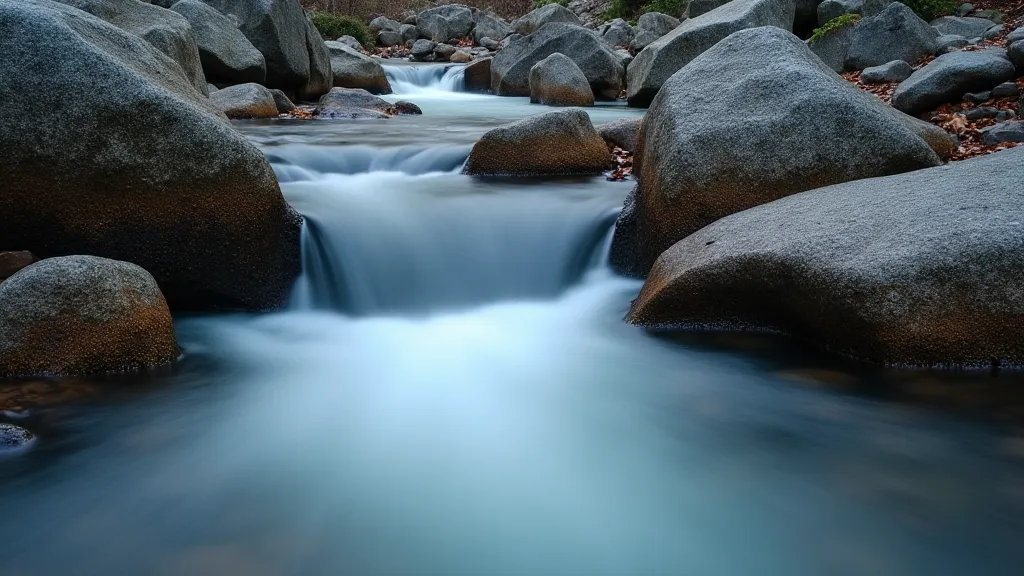
- Shutter Speed: Controls the amount of light entering the camera. Faster shutter speeds freeze motion (good for wildlife). Slower shutter speeds can create motion blur (good for capturing the movement of water).
- ISO: Controls the camera's sensitivity to light. Lower ISO values produce cleaner images, while higher ISO values are useful in low light but can introduce noise.
6. Post-Processing – Subtle Enhancements
While it's important to capture a good image in-camera, basic post-processing can enhance your photos. Adjust brightness, contrast, color balance, and sharpness. However, avoid excessive editing – the goal is to enhance, not distort, the natural beauty of the scene.